C64 and Amiga repair and reference book in German

There’s a nice C64 and Amiga compendium free available but only in German.
It’s written by Peter Sieg and he offers the complete book as pdf and odt under the Creative Commons license.

Find the book and all files (firmware, layouts, etc.) under the link below:
Commodore-Hardware-Retrocomputing. 25 Jahre nach C64 & Co.: C64 und A500 reparieren, warten und erweitern

Direct link to the github repository:
https://github.com/petersieg/Retro-Computing

fixing a C64 with “out of memory error in 0”

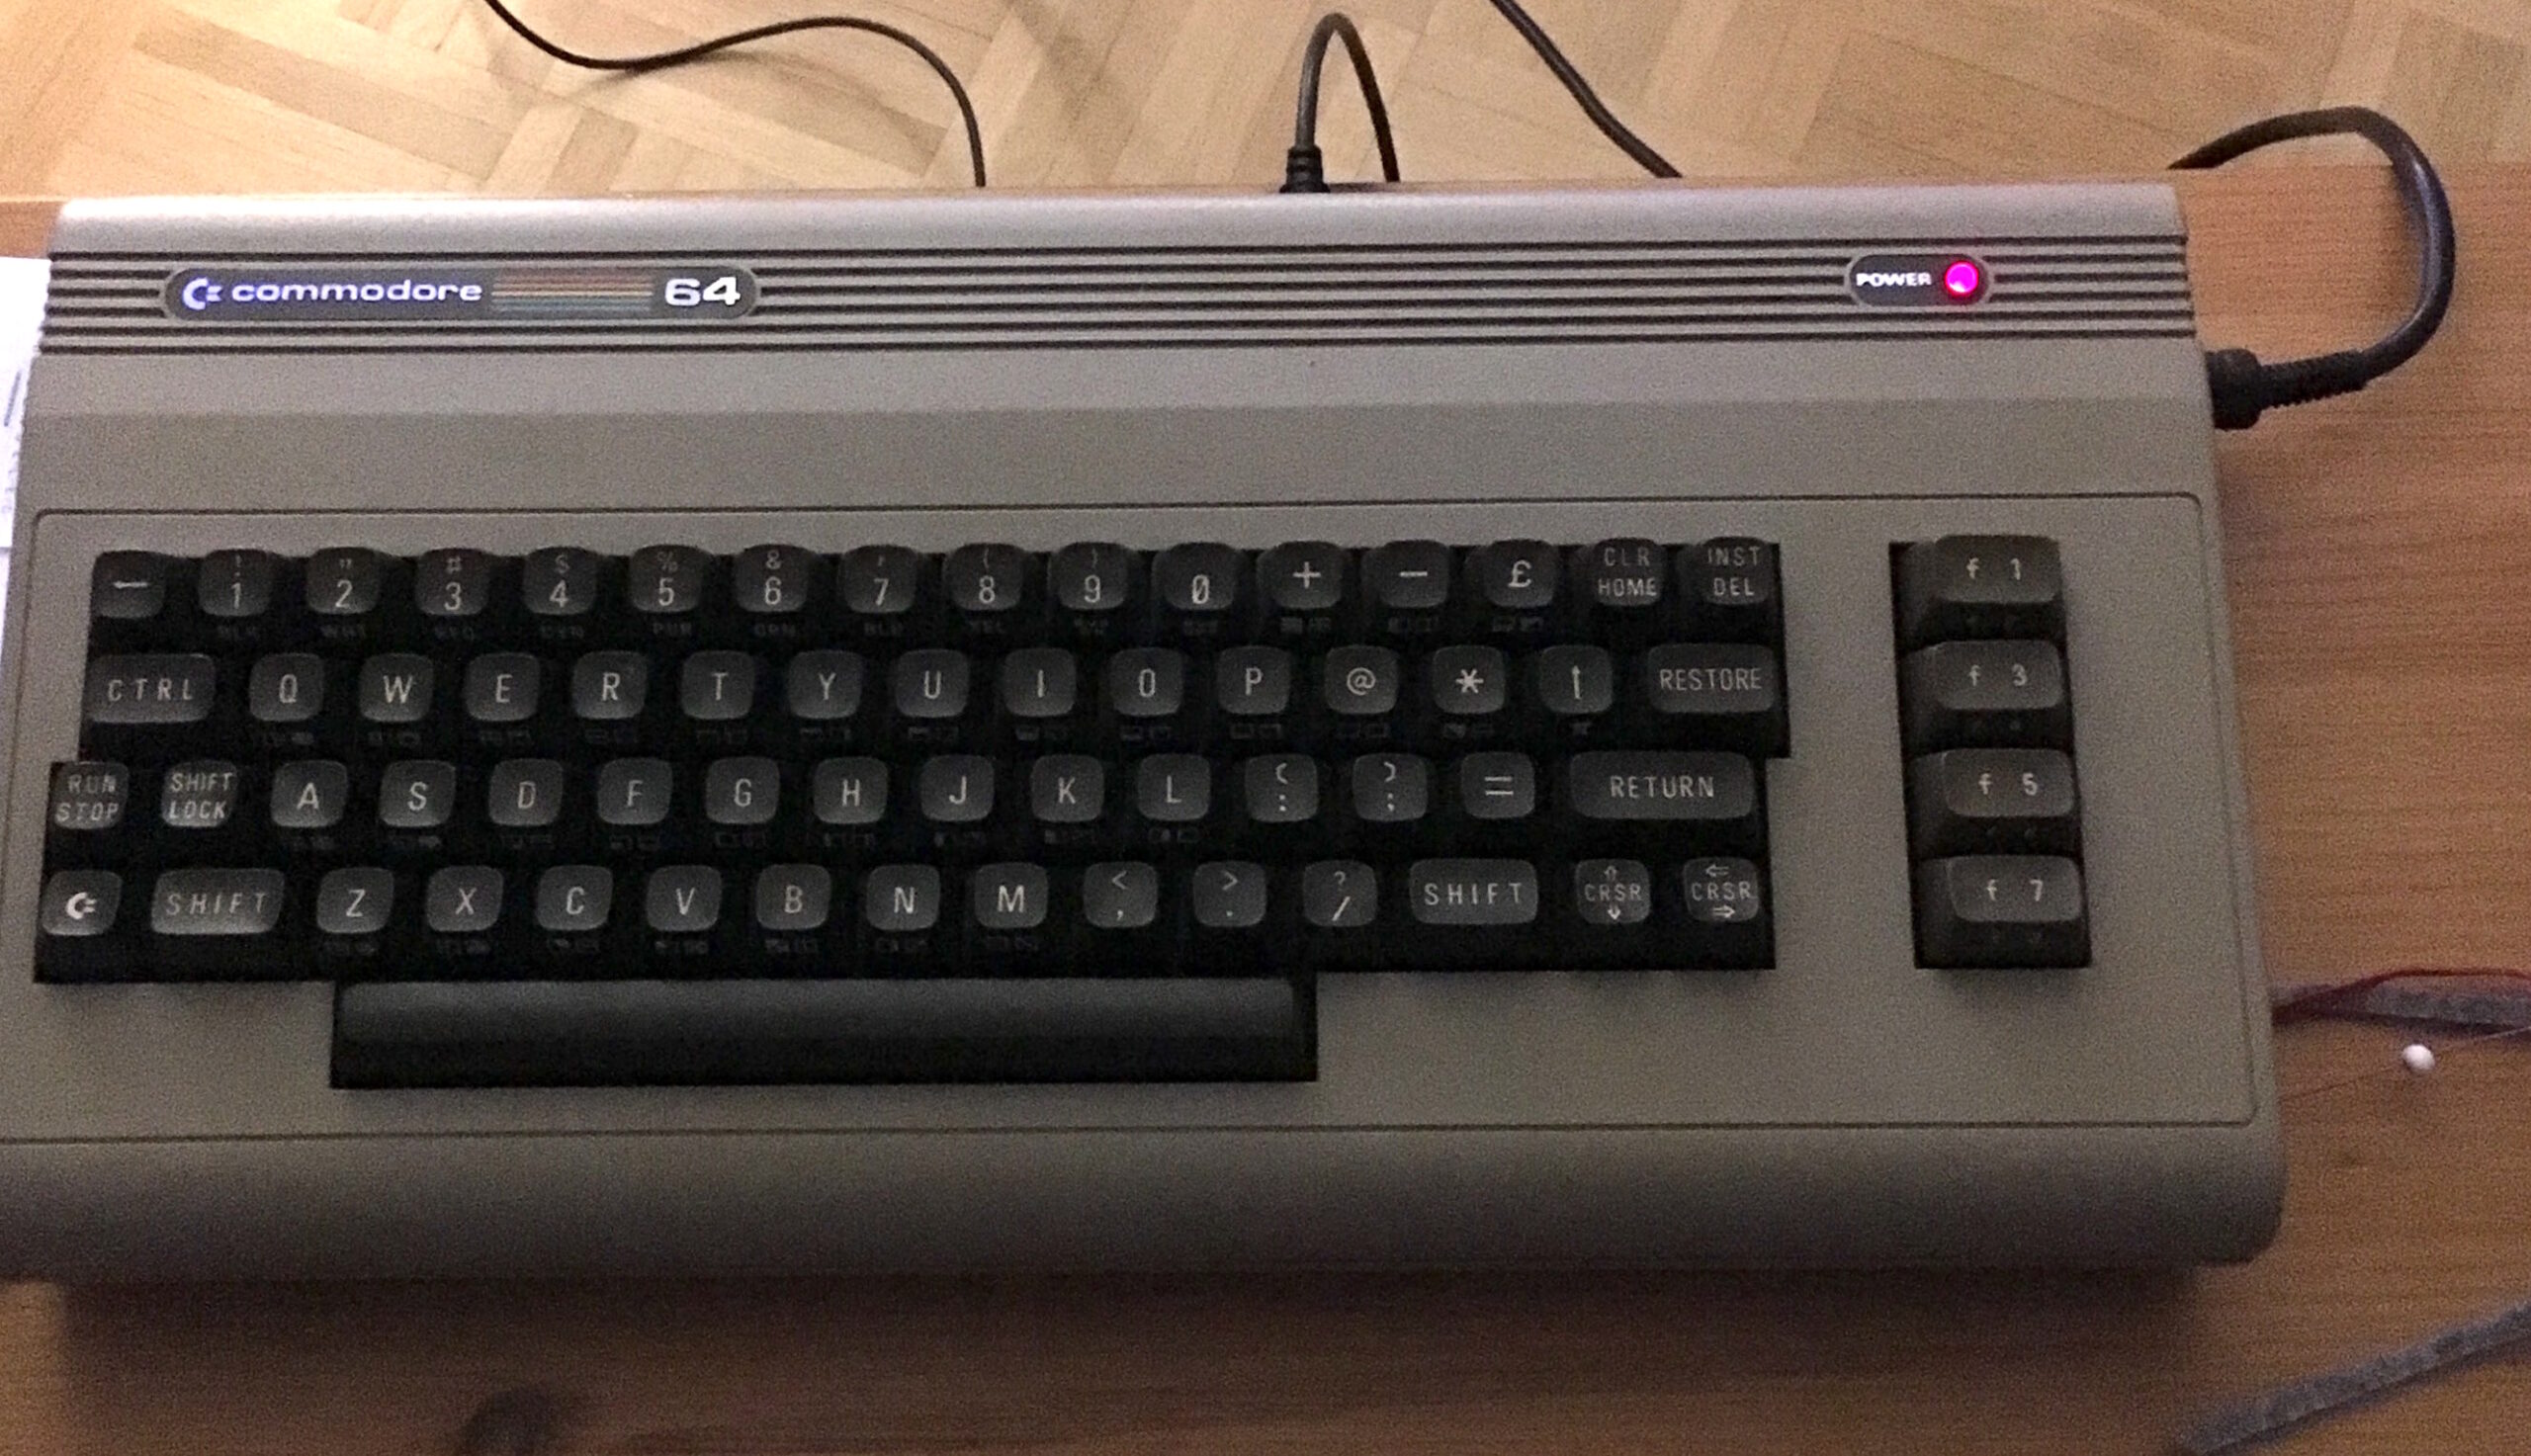
I was in the mood of messing with real hardware beside all the fpga stuff. Since I’m interested in retro hardware I bought a C64 breadbox from ebay.

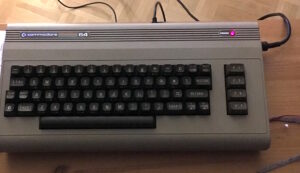
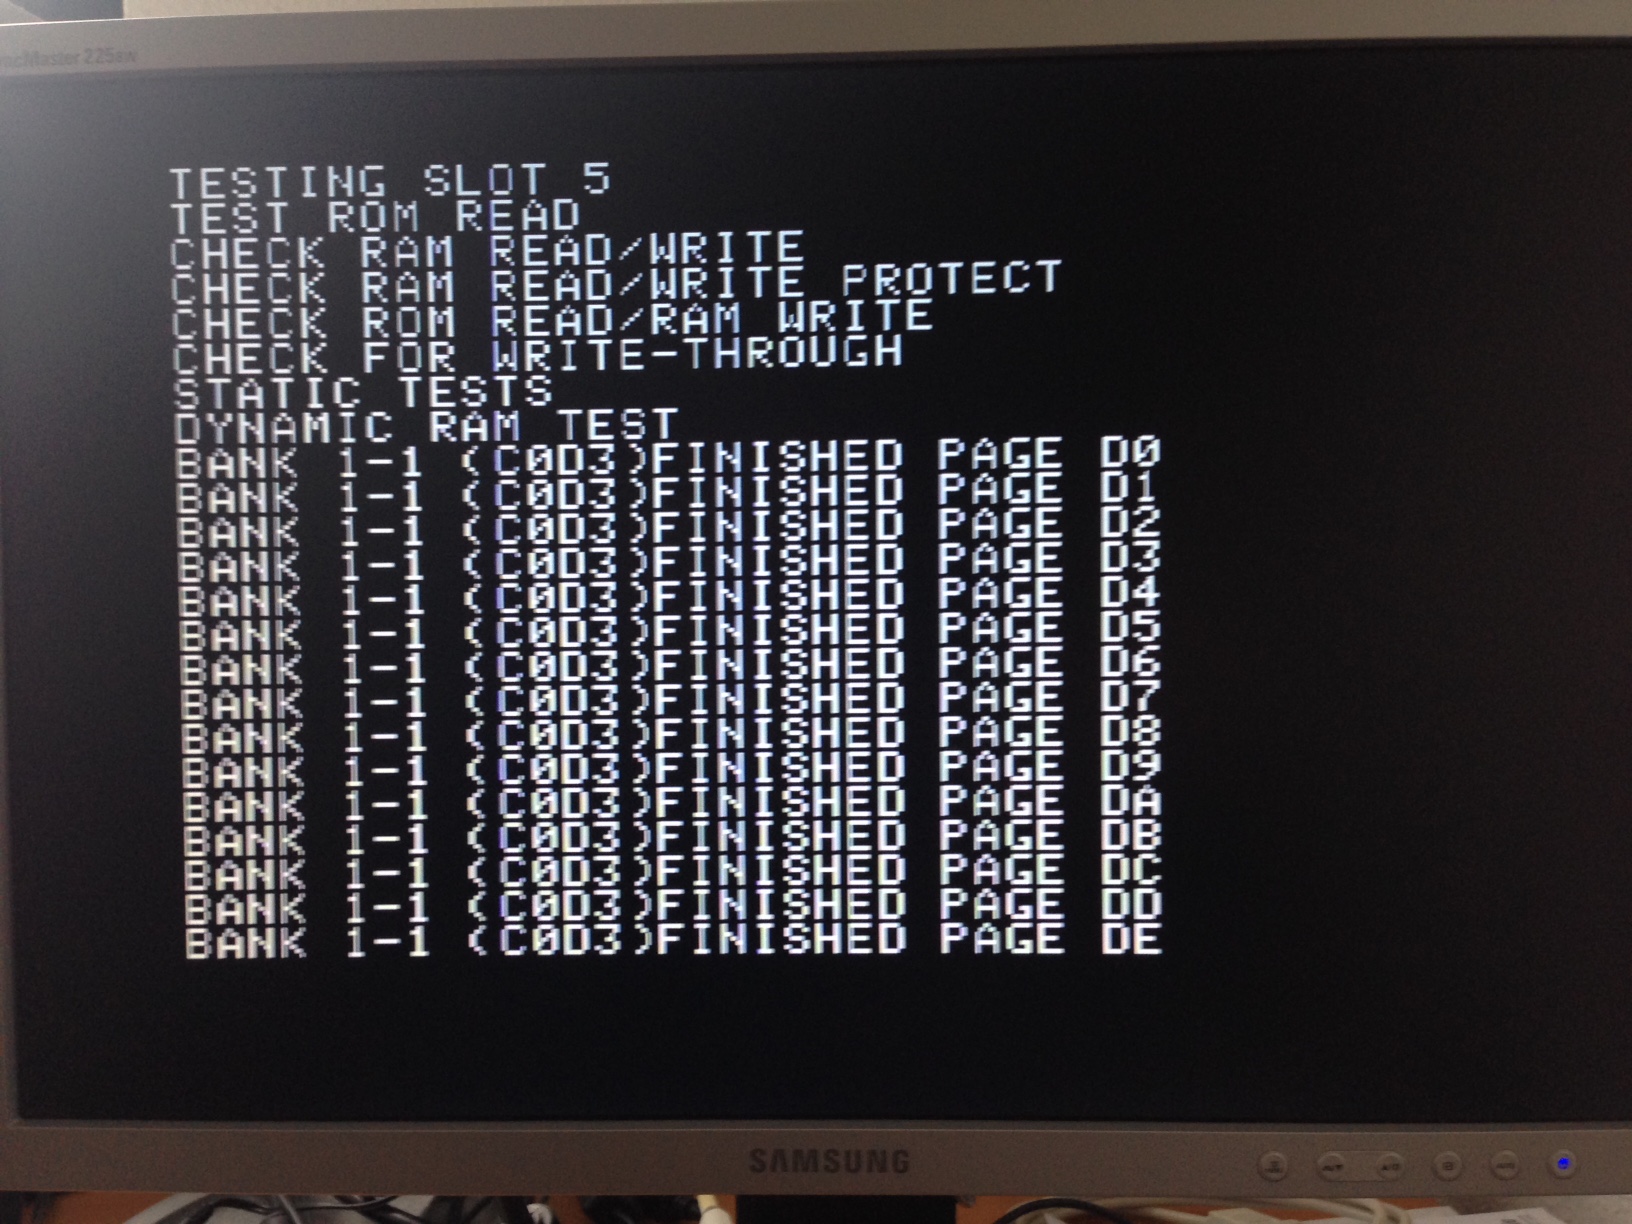
The shell was pretty okay but unfortunately all that I could see on the screen was the message “out of memory error in 0”.
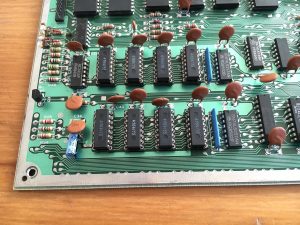
Fortunately that seems to be a common problem and the web is full of repair tips. The DRAM seems to be at fault and after 30 years it might make sense to replace it.

IMG_0298

The best is to replace all chips but there are quite a few tips on how to detect which chip might be broken. If you see random characters on the screen you might determine which bit isn’t okay and which chip is responsible for it.
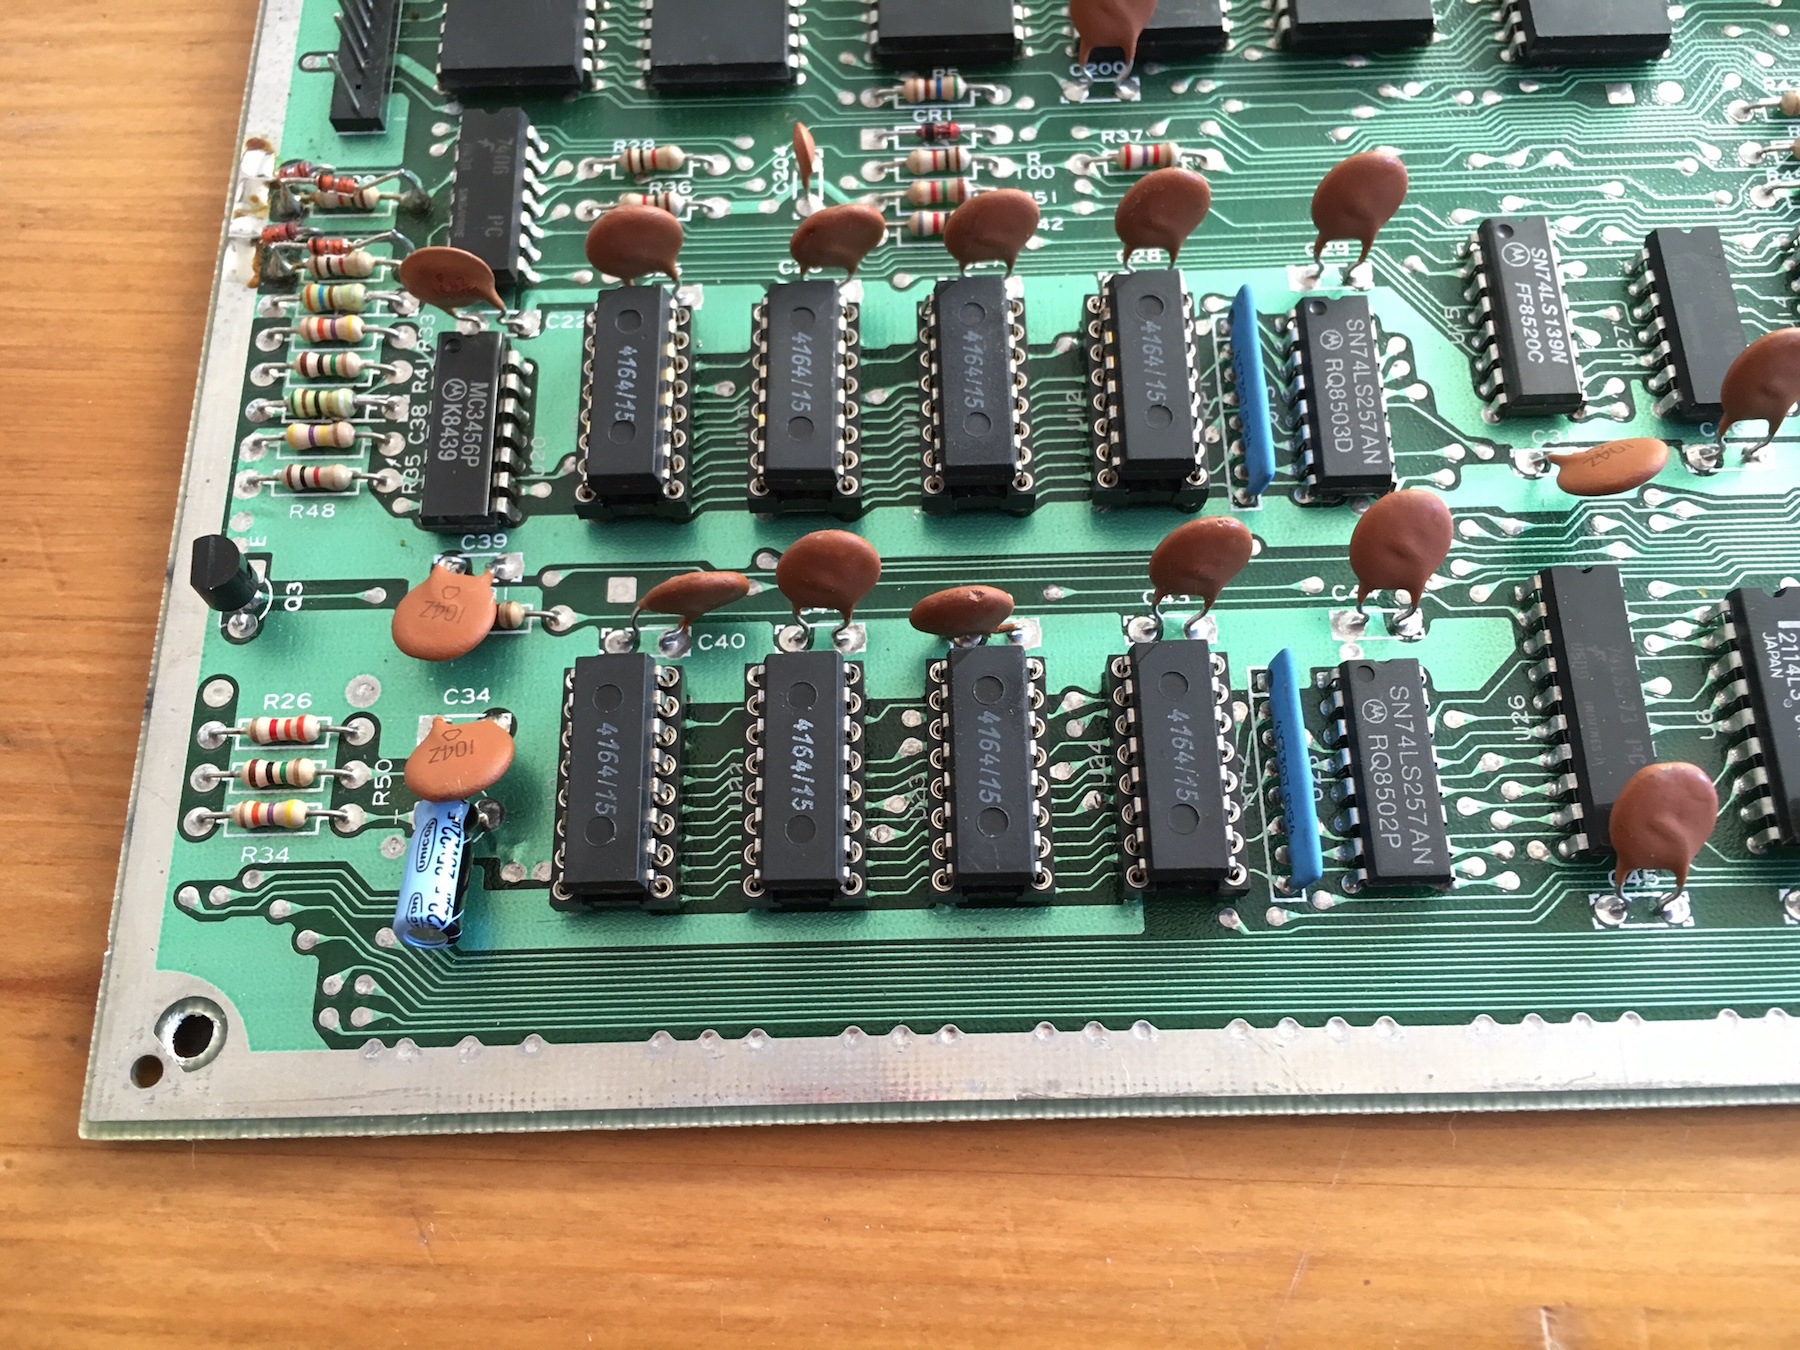
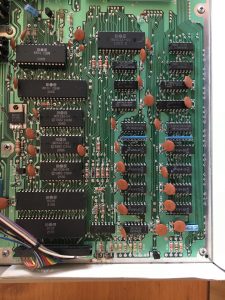
The output of my C64 was fine and all I could see was the error message. I decided to replace all eight RAM chips and put the new ones in precision IC sockets. This way I could easily swap them if necessary.

Now its time to get the solder iron and the desoldering pump to remove the solder and the chips. But that wasn’t so easy as I thought. I first added solder again to reflow the solder and then removed it with the pump. Even though it looks like I was able to remove a lot of solder I couldn’t remove the chips. The main problem were the connections vcc and ground. The circuit paths are so thick that they suck away all the heat.
As I didn’t want to keep the RAM chips I cut through all pins with a side cutter. Afterwards it was easy to remove most pins from the board but still the vcc and ground pins gave me problems. I heated it up for seconds which isn’t good as all capacitors in the near went really hot. Fortunately the ceramic capacitors could take a lot of heat and thus they still worked afterwards.

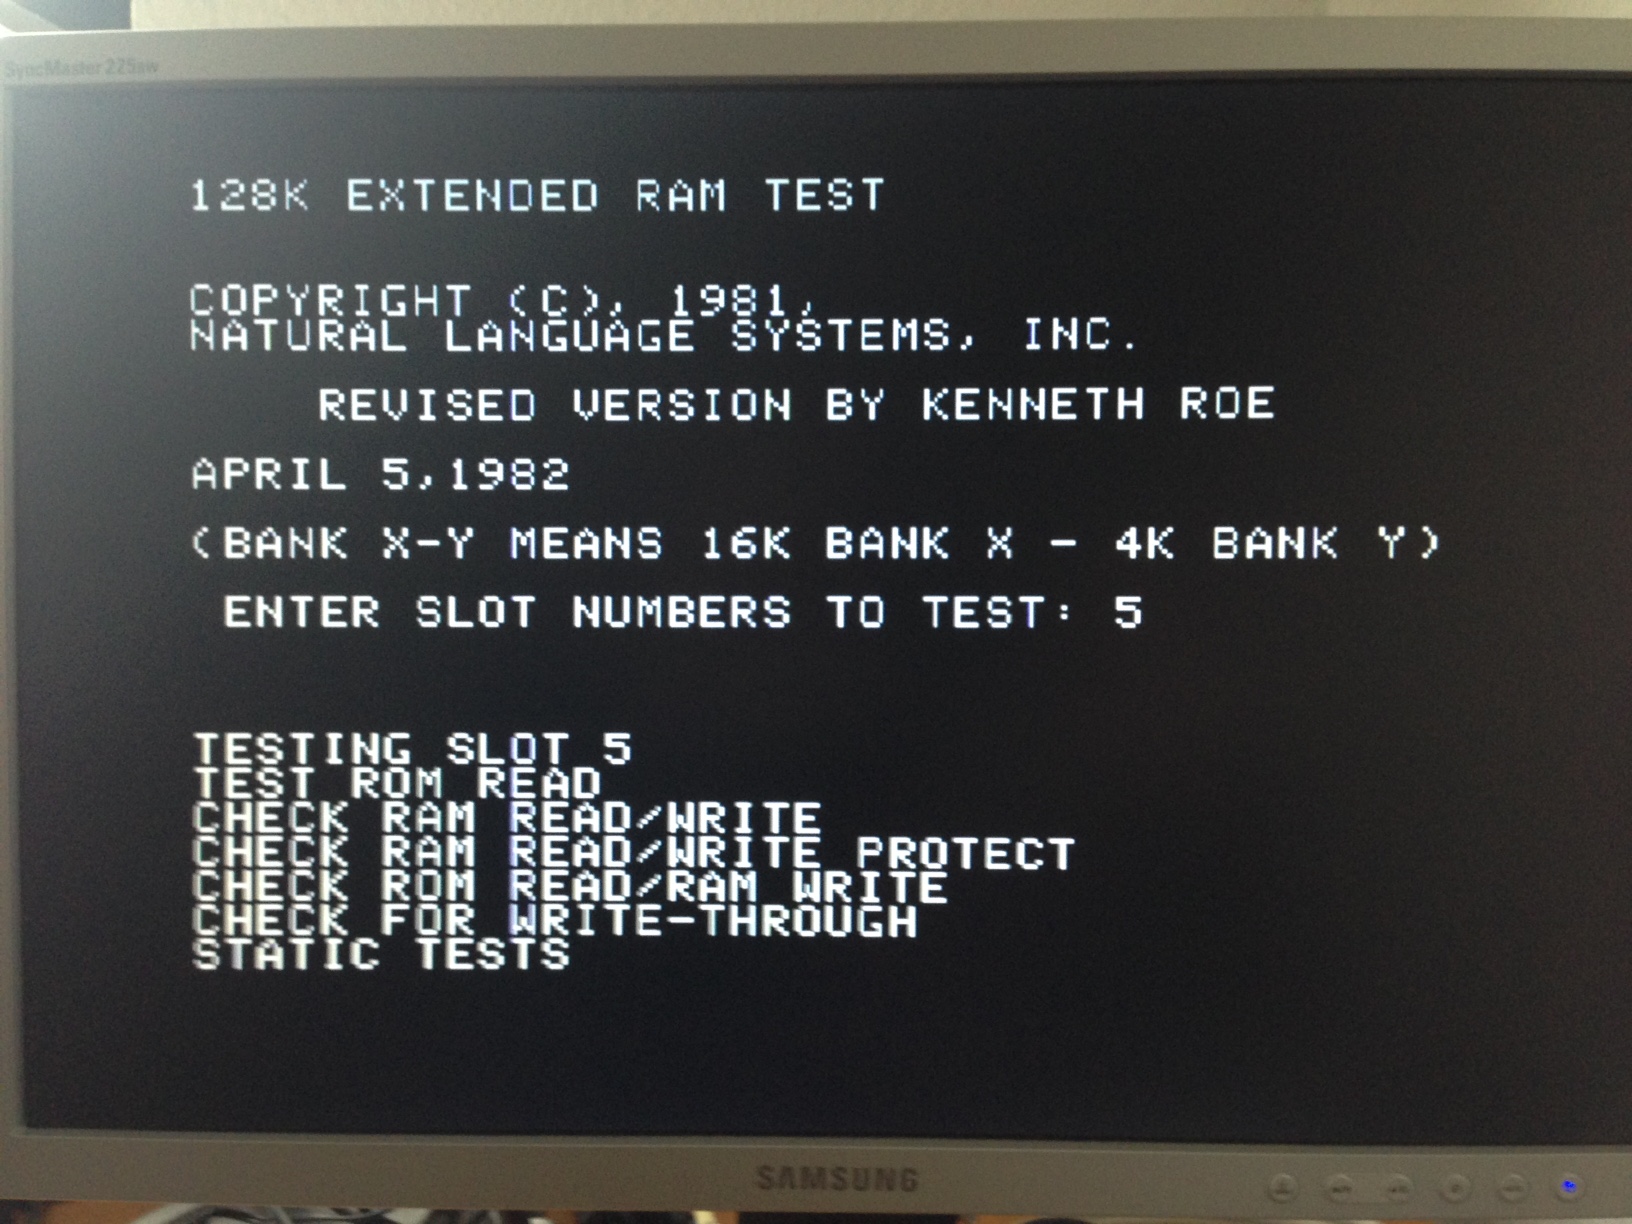
Soldering the IC sockets was easy. Afterwards I put in the new DRAM chips which I got from ebay. And guess what. My “new” C64 worked on the first try! 🙂

IMG_0299

Updated Apple II plus core for the MiST

I’m still not completely happy with the mockingboard implementation but one can play with it and if it doesn’t work nicely just turn it off (it’s off per default).
Skyfox starts playing music but hangs later which doesn’t happen when the mockingboard is turned off. Another bug is that from time to time I just hear statics and a new recompilation under Quartus fixed that. So something with the timing might not be okay. I’ve added a .sdc file which made it a little bit more stable but I’m open for hints on how to stabilize it.

I fixed another issue which annoyed me lately. When doing a reset the Apple II preserves it memory and software is able to alter the reset vector. At memory $3F2 and $3F3 the reset address is stored and when altered a reset brings you to the prompt (at best) or just hangs somewhere and you can only turn off the MiST. If $3F4 would be a random value and not the XOR between $A5 and $3F3 the Apple II would “think” its a cold boot and starts the Autostart ROM.
I just set $3F4 to zero when the cold boot option in the osd is pressed and the Apple II resets and tries to start from disk.

WIP: mockingboard support for the Apple II plus on MiST FPGA

After the Saturn RAM expansion I’ve looked around for an easy follow up project which I could do in my little spare time. The mockingboard looked like an reasonable addition since the used components where already available as hdl sources (beside the speech chip). I found several schematics for the board which differed slightly. I’ve started with the mockingboard clone by Bill Garber:

schematic

I was and I’m still a little puzzled which clocks I have to use to drive the VIA and the PSG. The different schematics are also using different clocks so I chose the ones from the following document:
Mockingboard-v1a-Docs.pdf.
Another source of inspiration was the schematics from the Carte Blanche project 37:
http://www.applelogic.org/CarteBlancheIIProj6.html

Pretty quick I heard the sound effects of the mockingboard system disc (mockingboard1.dsk, youtube). Unfortunately only effects could be heard. It was quiet when it should play the music or the effect when the text scrolls up.
After some fiddling with the clocks and connecting the IRQ line to the processor the Apple resets to the monitor prompt when the text should scroll up. I spend many hours on debugging with different clocks but I didn’t find the cause. Later on I noticed that it always happens when the VIA dropped the IRQ line. Afterwards it was never raised again.
As usual Signaltap was quite a help. The Apple manual (Understanding the Apple II) stated that the reset vector for the IRQ routine is at $FFFE and $FFFF. For my rom it shows $FF59 and looking around I found that it means it jumps right away to the monitoring prompt, *gotcha*.
But what does it mean? I found a quite useful discussion about here: mockingboards. It looks like that on Apple II without the autostart rom the IRQ reset vector should be at $FA86 and on Apple II+ at $FA40. $FF59 is the jump address for RESET on an Apple II. So there’s something wrong with my rom. I’ve changed the IRQ routine to $FA40 ($FFFE=40, $FFFF=FA) and voila it worked and music was played.
It’s still a little wonky and need more debugging (skyfox crashes, no sound on GI Joe) but this could also be some bad disk images.

If someone wants to play with the sources then have a look here:
https://github.com/wsoltys/mist-cores/tree/mockingboard/apple2fpga

Saturn 128K RAM expansion for the Apple II plus

Finally I got the Saturn RAM expansion working. It was a stupid mistake with the ram addressing. Now the RAMTEST128K test program runs through without an error. The card is implemented in slot 5. A second card could be added if necessary.
To get it working some utilities are needed which can be obtained from here: Saturn 128K RAM Software. It includes programs like movedos, ramexpand and pseudo disk (ram disk).

Saturn128k1Saturn128k2